Underwater Photography Tips
Since photography is all about light and light travels poorly in natural water, this makes underwater photography in the sea differs from on land or in a swimming pool. Here are some easy tips that help you take better underwater pictures of your snorkeling trip.
1 Let the Sun Help You

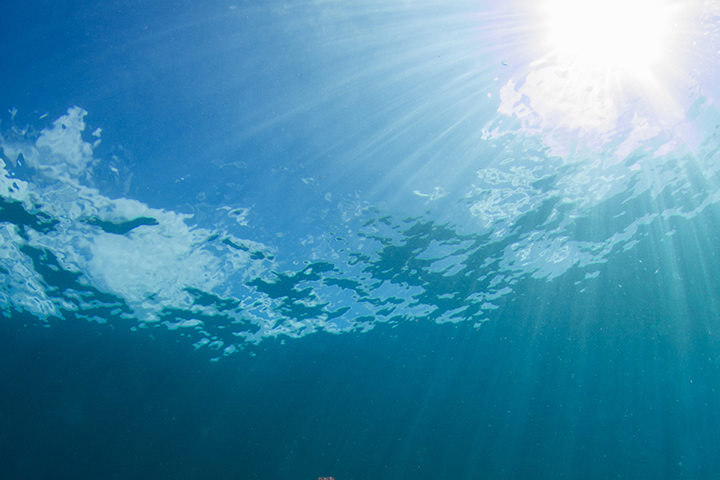
The underwater photography requires more light than usual and under the sea has no light source that means the sun plays the big role. For improved results, the recommended time for shooting underwater photos is around 10am to 2pm as the brightest time of the day. This allows you take tack-sharp images. (Remember that let the sun behind you to prevent annoying silhouette effects.)
2 Use Sand as a Reflector

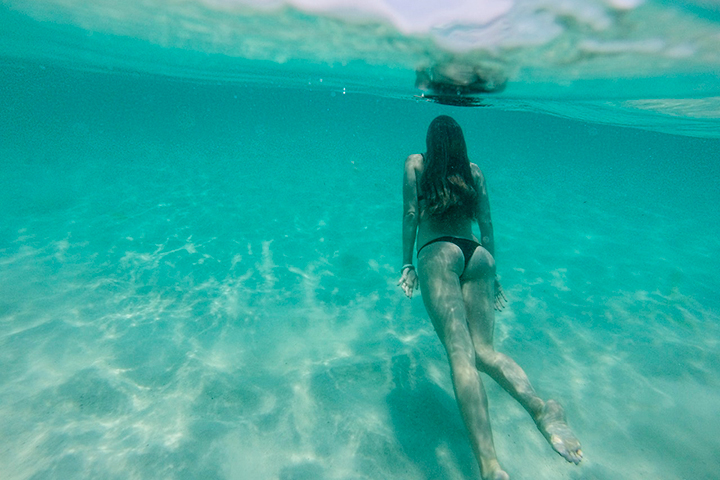
In deep water, even if you shoot near water surface, the photos will be dark and shadowed under the subject. That’s because the sunlight is absorbed, causing no reflection from below. On the other hand, if you shoot in shallow water (less than 20 feet), especially the ground is white sand, everything is better. The light-colored sands improve light reflect to bottom of the subject and deliver brighter and better detailed pictures.
3 Find Clear & Calm Water

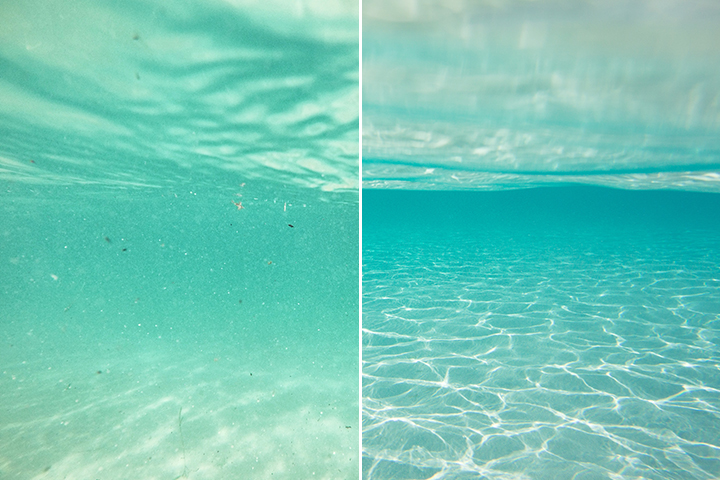
Aside from light factor, the clarity of water also has huge effect to image quality. The turbid water is poor visibility that makes the photos unclear and cloudy. For good result, try to shoot in clear and calm water. Avoid river mount and rapids areas because bulk of sediments can be easily blown up and dispersed, which makes the sea turbid.
4 Closer is Better

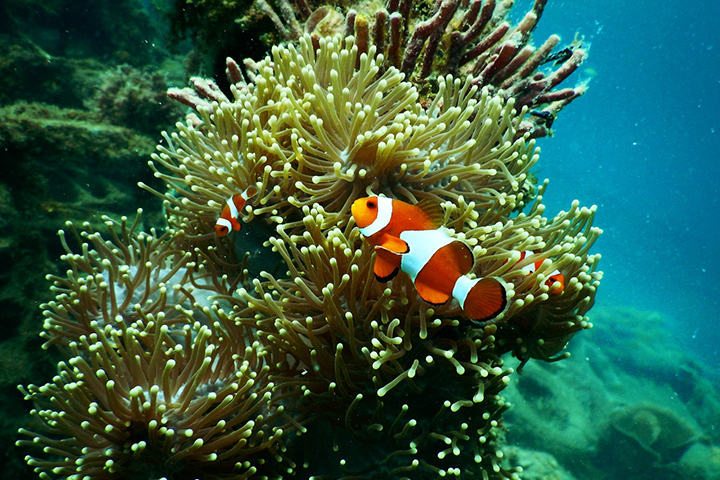
Typically, the natural water is bad light medium because of full of suspensions that will obstruct and scatter the light. So, if you shoot too far from the subject, the photos will become blurred and not bright. The easy solution is to approach to the subject as close as possible and do not zoom (or zoom as necessary). If you want to shoot aquatic animals, like turtles or fish, stay still and let them come to you. Patiently wait until they swim closely and take your nice shot!
